


-

Blob Opera
-
The Choicest Voice
-

SpongeBob Is This How You Get Your Sick Kicks
-

Hiding from Randall Monsters Inc
-

Dance Moms – GET YOUR FINGER OUT OF MY FACE
-

Doppio switch into Diavolo
-

SpongeBob SquarePants – Insultin a mans ship
-

Ichigo vs Grimmjow
-
Family Guy Peter Does Crack
-

TAWOG Have You Noticed That Your Voice Has Changed – The Castle
-
Kung Fu Panda o sigma da Bahia
-
Peter Griffin Plays Call of Duty Dub
-
Stutter incident – Joe Bart
-
No This Is My Lolly
Tips & Tricks
The Choicer Voicer scores you on how closely your voice matches a source clip, judged by computer panels, local players, or Twitch chat depending on the mode. Scoring isn’t about doing a “good voice” in the abstract — it’s about matching specific, measurable qualities of the clip you’re given: its pitch, its timing, and its emotional delivery. This page breaks down the four skills that actually move your score, plus the setup work that determines whether any of it gets picked up cleanly in the first place.
Matching Pitch and Tone
Judges (human or computer) respond most strongly to whether your pitch contour follows the same shape as the original clip — rising where the original rises, dropping where it drops — rather than whether you sound identical to the speaker. You don’t need to replicate someone’s exact vocal register to score well; you need to track the same relative movement.
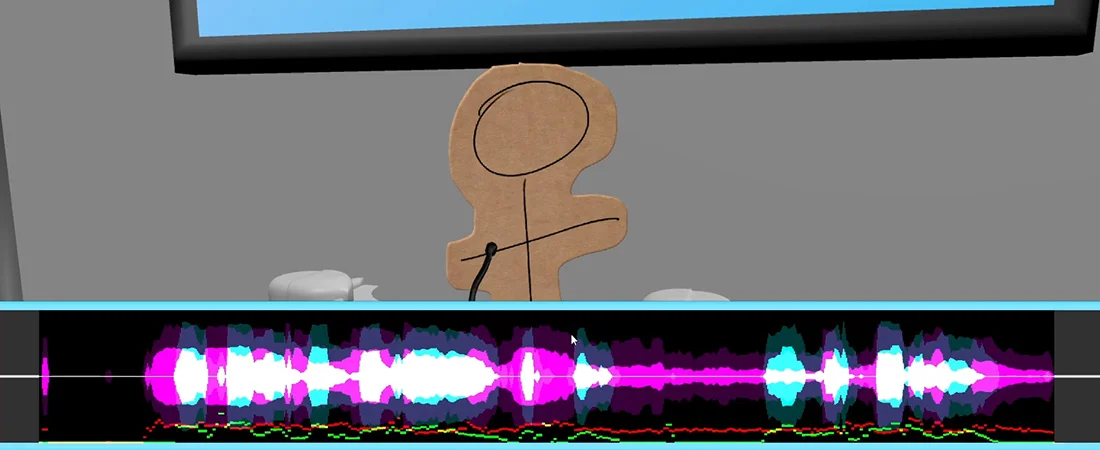
- Listen to the clip at least twice before attempting it — once for content, once purely for pitch shape.
- Hum the contour before adding words. This isolates pitch from delivery and timing.
- Don’t force your natural pitch into an uncomfortable range just to sound “closer” — a slightly off-register performance with the right contour usually scores higher than a strained one that’s technically closer in pitch but flat in movement.
- Pay attention to tone quality separately from pitch — nasal, breathy, gravelly, or clipped textures are part of what a clip is doing and are often what makes an impression read as accurate.
| Technique | Why It Works | How to Use It Better |
|---|---|---|
| Contour humming | Isolates pitch movement from words, making mismatches obvious before you record | Do this as a silent pass before every attempt, not just on clips that sound hard |
| Register shifting | Some clips sit outside your natural range; small shifts get you closer without straining | Shift toward the target register rather than trying to fully replicate it — partial shifts read as more natural |
| Texture matching | Nasal, breathy, or gravelly qualities are often what judges (and chat) recognize instantly | Practice isolating one texture at a time rather than trying to layer all of them into a single take |
Timing Your Delivery
Timing is scored independently of pitch, and it’s the skill most players ignore. A performance that nails the tone but rushes or drags the delivery will still lose points, because the game (and human judges) are tracking rhythm and pacing against the source clip in parallel.
Reading the Clip’s Rhythm
- Note where the original speaker pauses — beginners tend to smooth these out, which flattens the performance.
- Match the speed of key phrases, not just the overall length of the clip. A clip can be the same total duration but front-loaded or back-loaded with pacing changes.
- Practice starting your performance exactly on cue — a late start throws off sync for the rest of the clip even if the rest is accurate.
Common Timing Pitfalls
- Rushing through unfamiliar words or names to “get past” them — this is usually where timing breaks down most.
- Over-committing to a slow, dramatic pace on clips that are actually delivered quickly in the original.
- Ignoring breath placement — inhaling at the wrong spot shifts your whole rhythm relative to the clip.
Reading the Clip’s Emotion
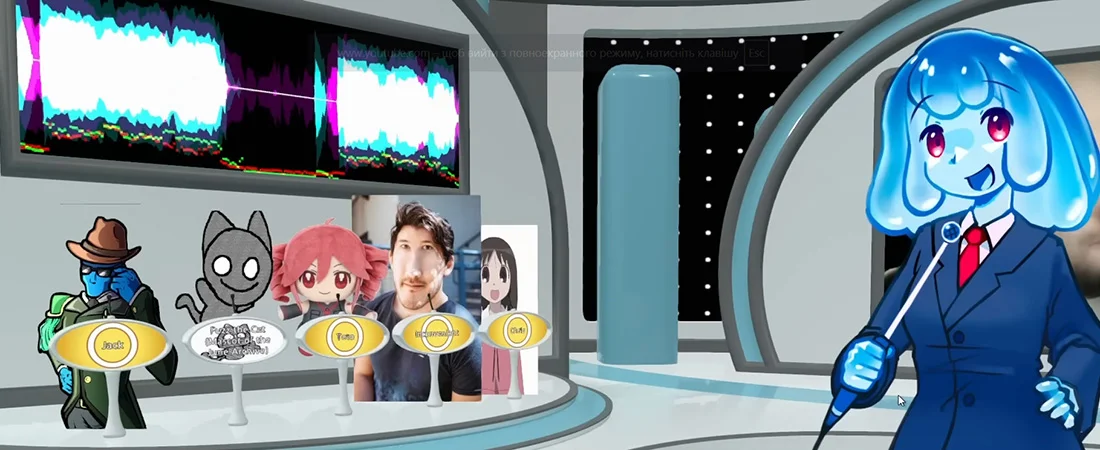
Emotional accuracy is judged separately from technical pitch/timing matching, and it’s often what separates a technically correct performance from one that actually scores well. The game is checking whether your delivery sounds like it means what the original clip means — sarcasm read as sincerity, or excitement read as flat statement, will cost points even with perfect timing.
- Identify the emotional register in one word before attempting the clip: annoyed, panicked, smug, exhausted, etc. This gives you a target to commit to rather than guessing mid-performance.
- Watch for tonal shifts within a single clip — many source clips change emotion partway through, and matching only the opening tone is a common way to lose points on longer clips.
- Overacting the emotion is usually safer than underacting it — flat delivery reads as a miss more often than exaggerated delivery does.
Mic Setup for Clean Recording
None of the above matters if your input audio is inconsistent or the game isn’t picking it up properly. Recording issues are a known pain point, and a bad setup will tank your score regardless of how accurate your performance actually is.
- Set your input levels before your first attempt, not mid-session — clipping or too-quiet audio both distort how your performance is judged.
- Avoid surround-sound or virtual audio device setups where possible — standard stereo input tends to be the most reliably recognized.
- Record in a quiet space; background noise competes with the same audio analysis that’s trying to track your pitch and timing.
- If your mic isn’t registering at all, check your input device selection first — this is the most common cause of “no audio detected” issues, more often than a hardware fault.
- Do a short test recording before jumping into a scored round, especially after changing any audio settings.
Step-by-Step Workflow for a Strong Attempt
- Listen to the clip fully at least twice before attempting it.
- Identify the emotional register in one word.
- Hum the pitch contour silently to check the shape.
- Note where pauses and pacing shifts happen in the original.
- Do a quick mic level check if you haven’t recorded recently.
- Perform the clip, committing fully to the emotional read rather than holding back.
- Review your own recording if the mode allows it, and note whether pitch, timing, or emotion was the weakest match.
Common Mistakes
- Skipping the listen-through and attempting a clip cold — this almost always costs points on timing.
- Fixing on pitch alone and ignoring emotional tone, especially on clips with sarcastic or ironic delivery.
- Leaving mic input unchecked between sessions, especially after switching headsets or audio devices.
- Underplaying emotional intensity out of self-consciousness — flat readings score worse than committed, slightly-off ones.
- Rushing through unfamiliar phrases instead of practicing them separately first.
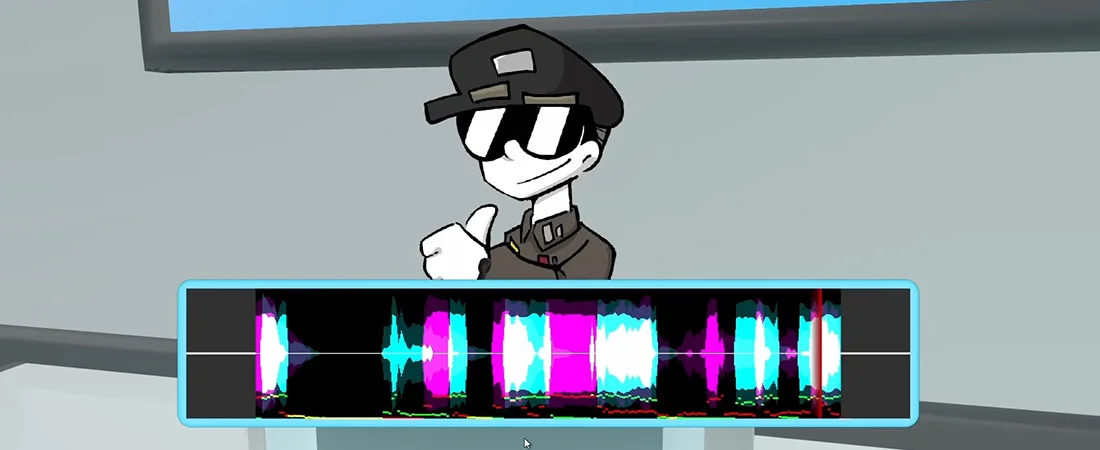
Twitch Chat Mode Tips
When chat is judging instead of the built-in panel, scoring shifts toward whatever reads as entertaining or clearly matched in a fast-scrolling chat window — chat tends to reward big, legible emotional choices over subtle technical accuracy.
- Lean into clear, readable emotional choices rather than subtle ones — chat is reacting in real time and won’t catch nuance the way a slower judging pass would.
- Keep an eye on which clip categories your chat responds well to, and weight your picks toward those when you can choose.
- Chat-specific content packs exist that let viewers contribute audio directly — using one changes the dynamic of a session, since your chat is reacting to their own submitted clips as much as your performance.
Dub Mode Tips
Dub Mode is less about competitive scoring and more about voiceover practice against longer freeform footage, which makes it useful for drilling the same four skills without the pressure of a scored round.
- Use Dub Mode specifically to practice timing on longer stretches of dialogue, since scored rounds usually use short clips.
- Sort or filter available footage by character or file when practicing a specific voice repeatedly, rather than pulling random clips each time.
- Mute the original clip audio once you’re comfortable with the timing, so you’re not unconsciously relying on hearing it under your own voice.
Pitch, timing, and emotional reading aren’t separate skills you improve one at a time — they’re all being scored off the same short clip simultaneously, which is why players who focus on only one tend to plateau. The players who improve fastest are the ones who build a quick mental checklist — shape, rhythm, feeling — before every attempt, and pair that with a mic setup they’ve already confirmed is working, rather than troubleshooting audio mid-session.